

Making Your Own Sourdough - A Lockdown Treat
Getting your sourdough started
Give us this day our daily bread. The trouble with religious incantations is that you can say them so often they seem to lose meaning - but these particular words have been brought well and truly home to me recently. And that is because it has been a great deal less simple to make your own bread, owing to the fact that there’s no yeast on the supermarket shelves.
In many places there’s no flour either. All of which prompted me to dust off my sourdough bread making skills. Of course, you can’t just knock out a loaf of sourdough, you need to make and maintain a “starter” or “leaven”, which means going through a daily routine of feeding your little-world-in-a-jar, filled with busy microorganisms, for at least a week.
After that you must keep your starter going if you want to make more loaves, which means you have to keep feeding it once a day - although you can put it in the fridge for a couple of weeks to give it a holiday if needs must.
It is not exactly an arduous thing to do. Basically you need some good quality flour and a more-or-less similar sized spoonful of lukewarm water. Keep adding this once a day to your existing mix and you will see - and smell - it begin to ferment.

Which is all well and good because what you are doing is awakening wild yeasts and naturally occurring lactobacilli (a lactic acid bacteria) in the flour - as well as attracting yeast that happens to exist wherever you live - and the activity of these various friendly microbes becomes stronger and more rampant as your flour and water mix ferments. It is this wild and random mix of microscopic fungus - consisting of single oval cells - that will eventually, when it’s become alive and active enough, act to some degree like industrially made baker’s yeast in making your bread.
Except the way it works on your dough is different - to the extent that even people with a gluten intolerance can get along with sourdough much better than they can with “normal” bread.
The world normal is a bit misleading because for thousands of years sourdough was the only daily bread around, other than the thin biscuit like unleavened stuff. Archaeologists have found the remains of a sourdough loaf in Switzerland that dates back almost 6000 years - but it was certainly being made in the Middle East’s Fertile Crescent way before that.
Basically what happens is that when wheat flour comes into contact with water, the naturally occurring enzyme ‘amylase' breaks down the starch into the sugars, glucose and maltose, which sourdough’s natural yeast can metabolise. After about a week of feeding your mix you will see bubbles on the surface - and what you do is measure off a quantity of your starter and add it to the basic flour and water dough you’re going to make your loaf with.

By carefully kneading and folding this dough - doing a set number of folds over set periods of time - you will distribute your active leaven throughout. After a while, you will be able to watch and wonder as the dough begins to swell and rise. It will also change its texture and feel and elasticity.
Which does seem to me seems to be a kind of magic. It is one thing to add some industrially made yeast granules to a dough and to watch it rise - but altogether something different to witness how wild yeasts, living in just a couple of spoonfuls of flour-and-water-mix, can alter the nature of a big lump of dough.
It smells amazing too. As you pop down to your kitchen every once in a while to give your dough another dose of folding and kneading, so you can sniff the summer fragrance of hot West Country wheat-fields. Or so it seems to me.
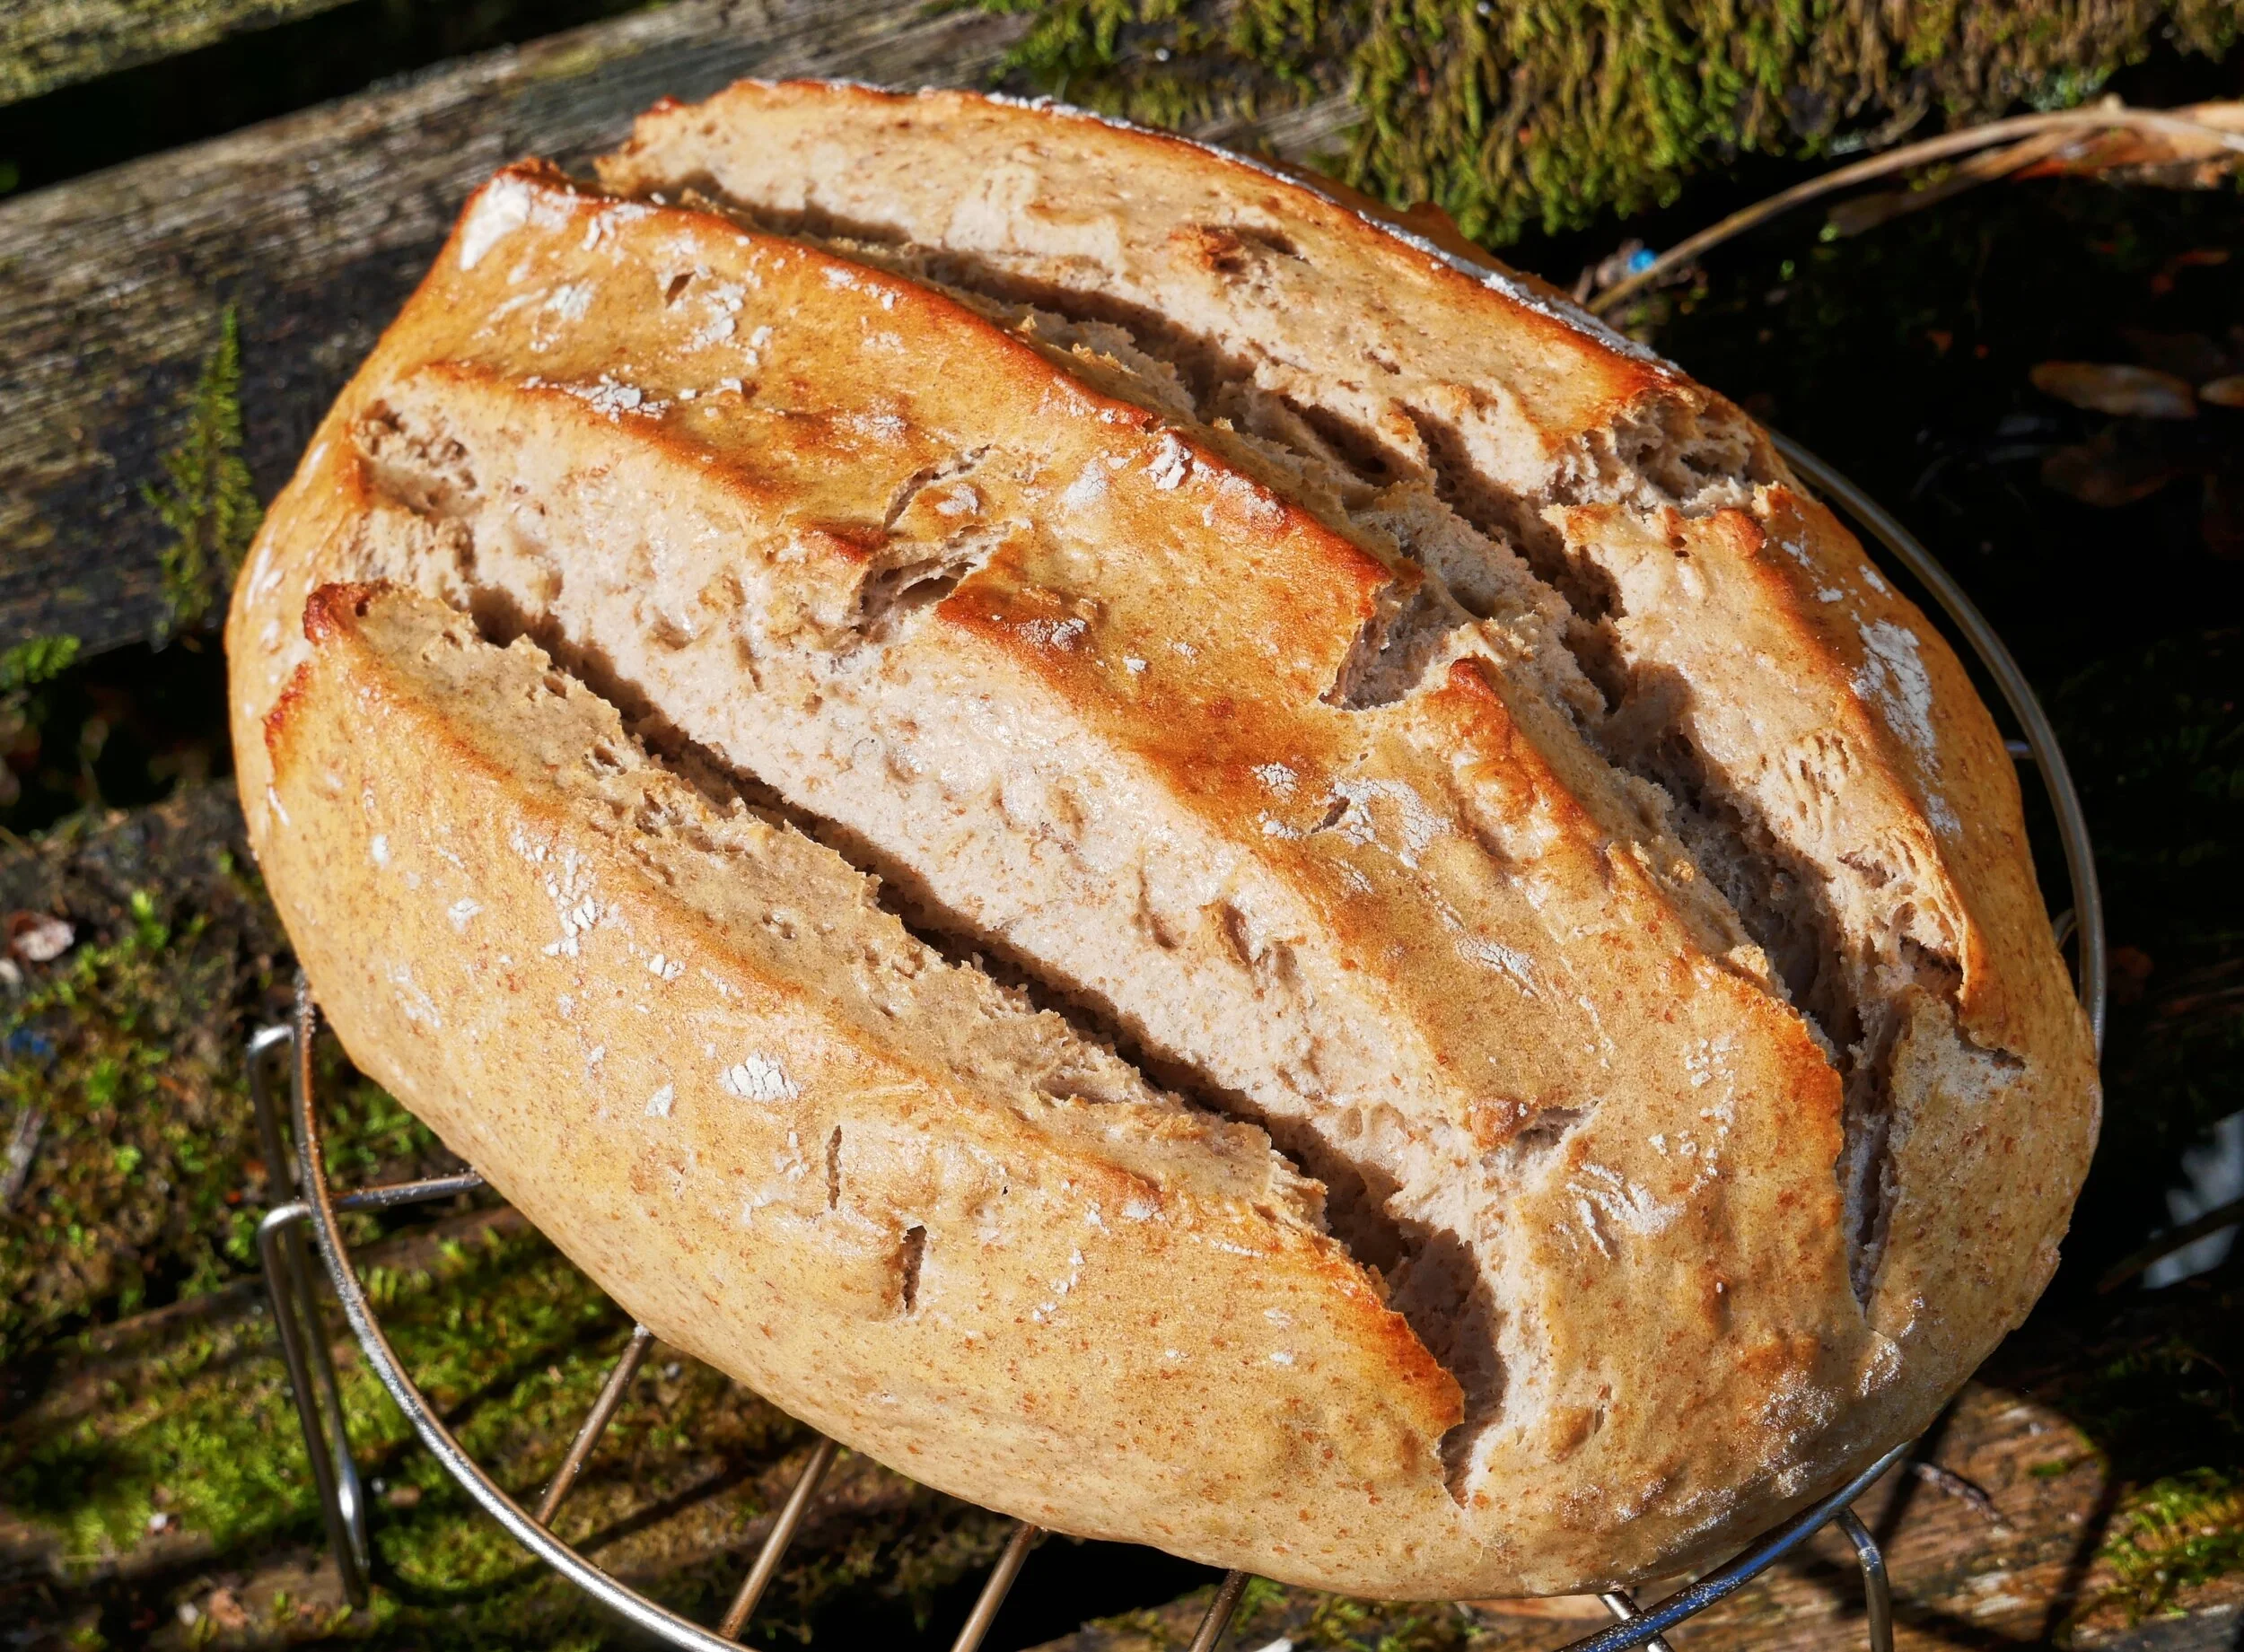
Yes, it is all a bit of a faff. It really is so, so much easier to buy a loaf of sourdough from a supermarket. Most stores have it nowadays - although I have heard a lot of these products are not really made with natural leavens at all but are chemically doctored to create something that passes as sourdough. I do not know if that is true. But I do know that my loaf this week had a great deal more flavour than the supermarket stuff.
Yes, it was heavier than the shop-bought and more dense - but I was warned that making sourdough is an art-form that requires endless practice to get right.

But, I repeat, my loaf did have more flavour - and it did have more emotional clout. I do not want to come over all hippy-ish about this, but there is something amazingly calming, enriching and almost spiritual about turning a dry bag of flour and a cup of water into something so satisfyingly delicious, sustaining, and good for your health.
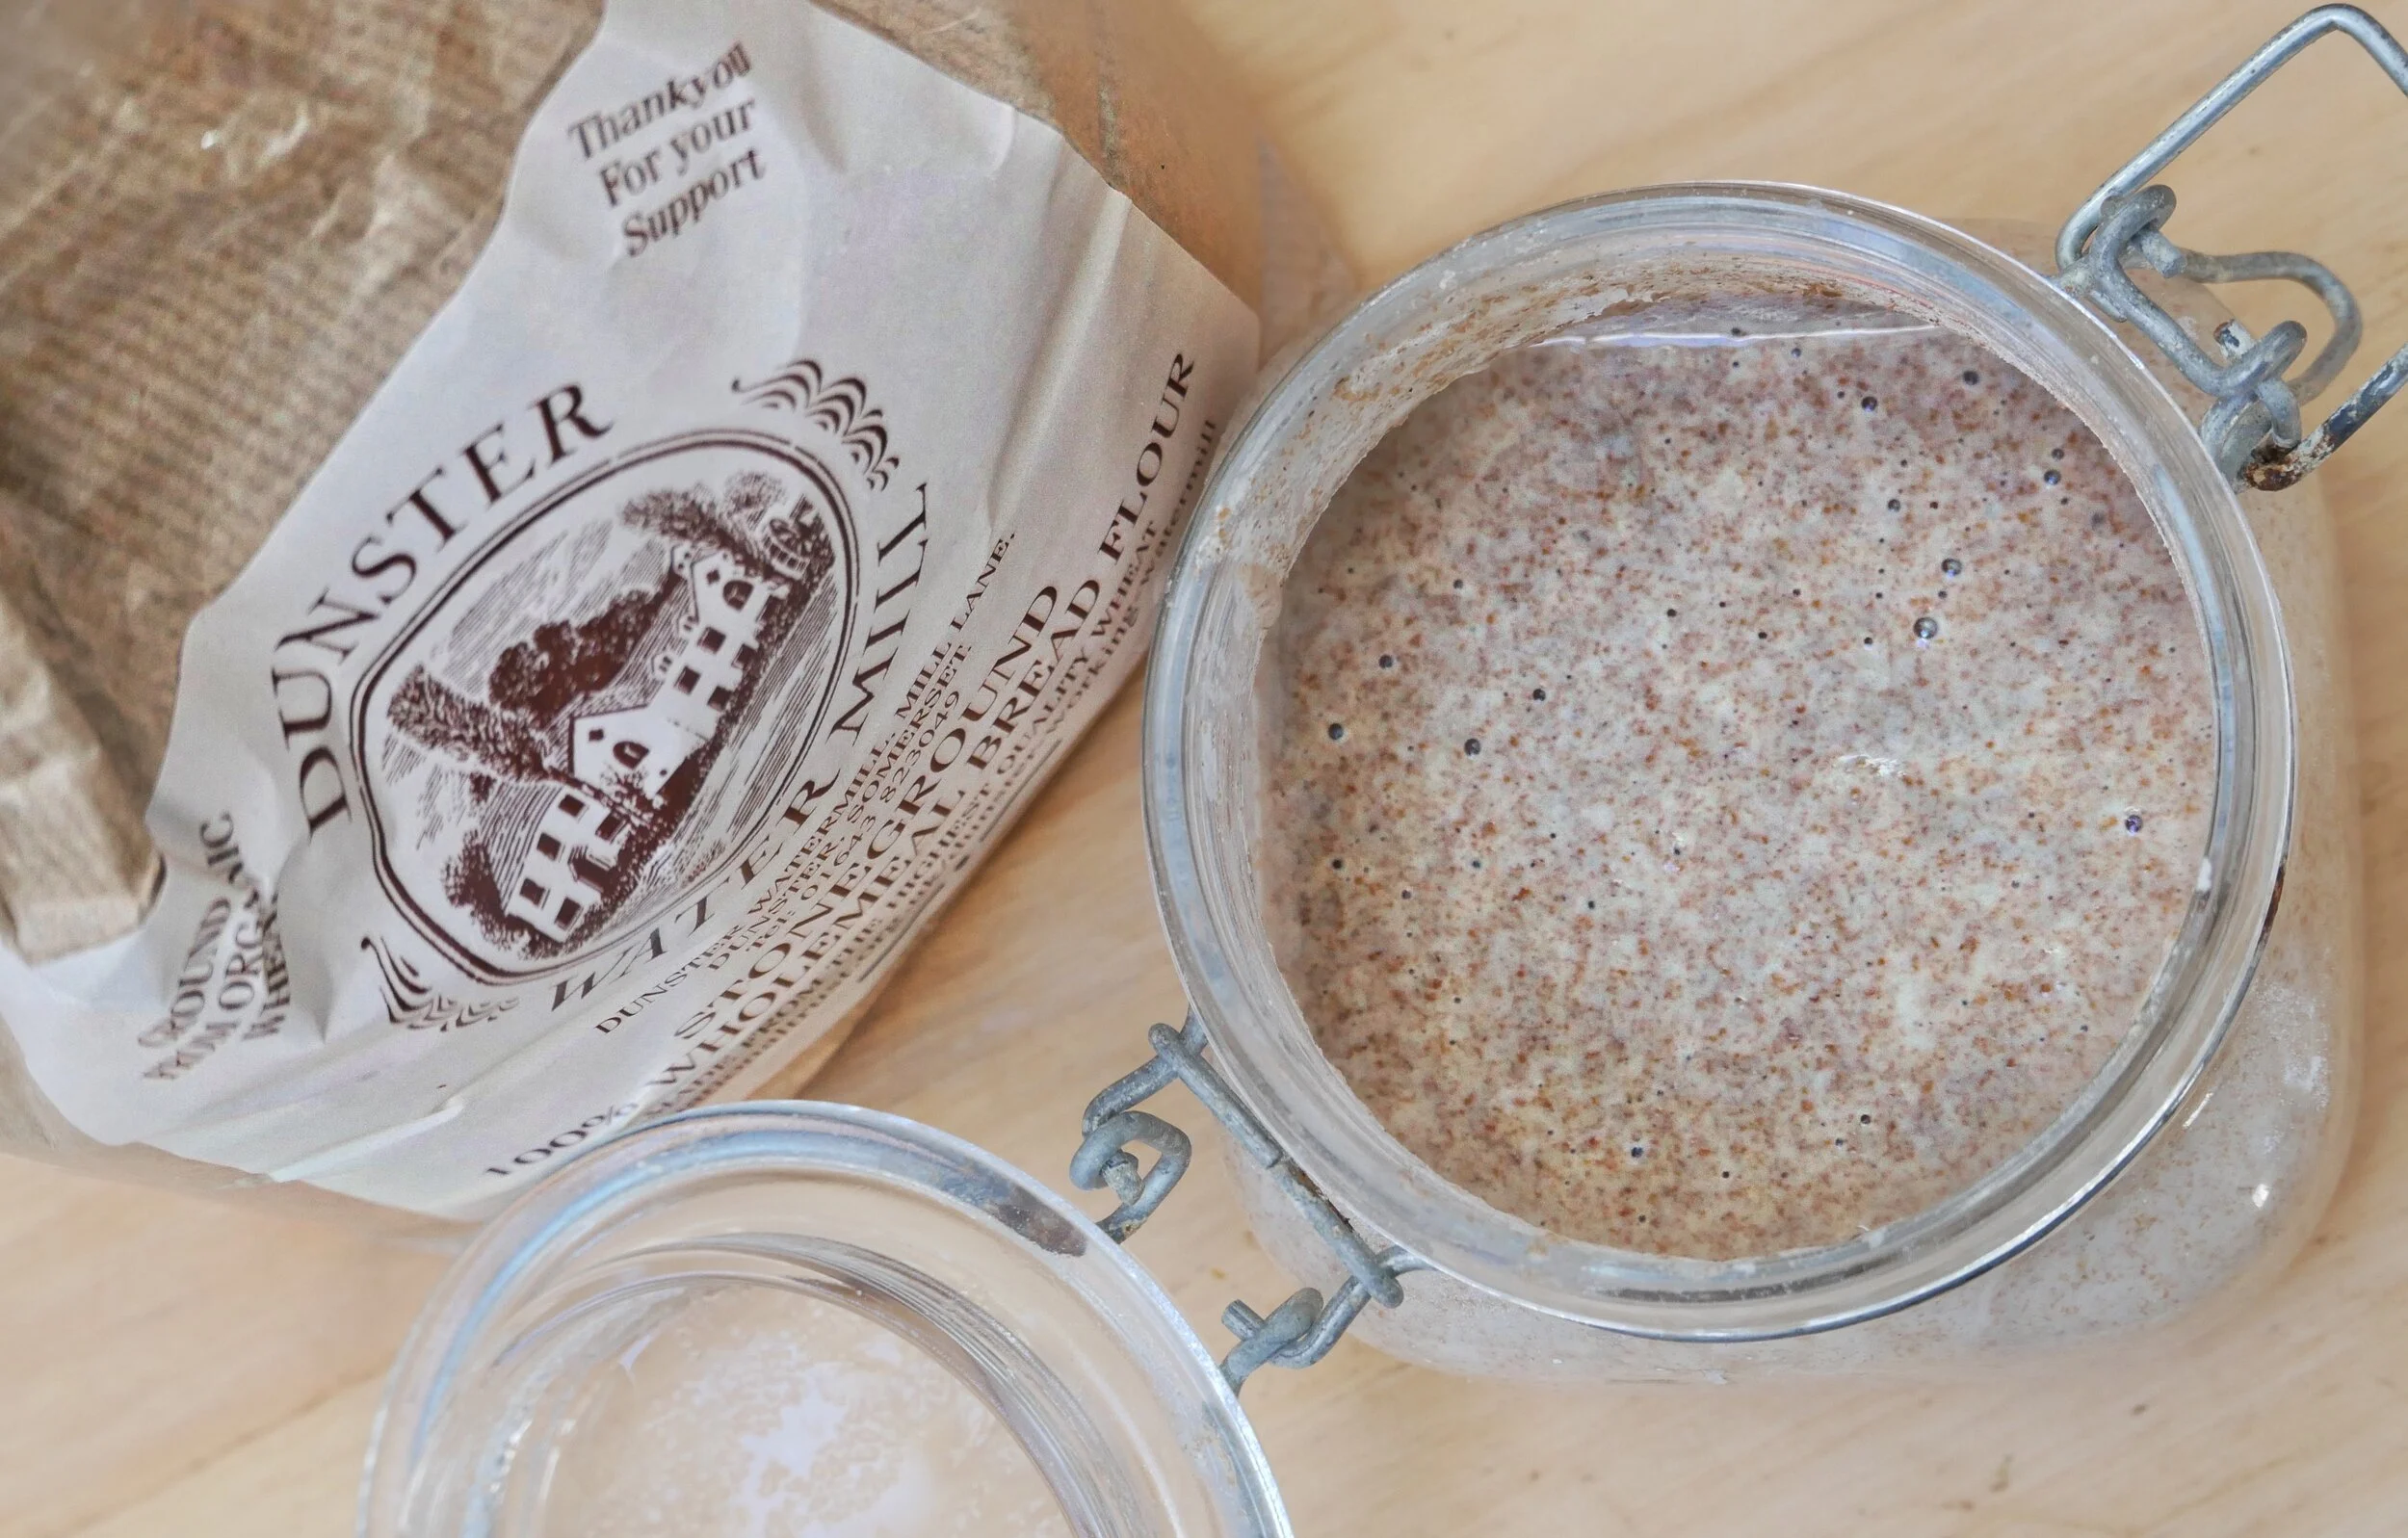
I visited the National Trust’s Dunster Watermill before the great coronavirus lockdown - and mill manager Stephen Hayes had told me that the fresh-ground whole-flour would retain many of its essential oils, vitamins and minerals. Sourdough experts say this is important when it comes to foreign a good starter or leaven.

Stephen Hayes, manager at the National Trust’s Dunster Flour Mill
In fact, there is a “local grain movement” that is beginning to take hold around the globe among those who really care about their food. For aficionados, the milling process is as important as the farming techniques used to grow the grain in the first place. I even know of people who have purchased their own tiny grinding mills so that they can always have a bag of fresh ground flour to hand.
If you regard one minute a day feeding your starter or leaven as a nuisance - or can’t face four short periods of folding the dough - then making your own sourdough is not for you. But I think the effort is worth it. And now I’ve actually made a pretty good loaf I can tell you the satisfaction levels are priceless.

Basic Sourdough recipe from Bread and Butter by Richard Snapes, Grant Harrington & Eve Hemingway - published by Quadrille
Ingredients
For the leaven
20g (3⁄4oz) sourdough starter
40g (11⁄2oz) strong wholemeal flour
40g (11⁄2oz) strong white flour 80g
(3oz) warm water
(26–30°C/79–86°F)
For the dough
610g (1lb 51⁄2oz) warm water (26–30°C/79–86°F)
120g (4oz) strong wholemeal flour 680g (1lb 8oz) strong white flour 16g (1⁄2oz) sea salt
rice flour, for dusting
Stage 1 Prepare the leaven
Either make a starter from scratch one week before you intend to bake, or use a mature starter if you have one.
In a small pot with a lid mix starter, flours and warm water. Leave in a warm place for 3–4 hours until there are lots of little bubbles and it smells mildly fermented. If you like your bread on the sour side, leave for a further 1–2 hours.
Stage 2 Make the dough
Next, weigh 560g (1lb 31⁄2oz) of the warm water into your large bowl or plastic container and add 160g (51⁄2oz) of your leaven. Combine with your fingers, then add both flours and mix until there are no more lumps.
Cover with a clean tea towel and leave to rest for 30–45 minutes. Once the dough has rested, add salt and remaining 50g (13⁄4oz) of water. Scrunch the salt and water into the dough for about 3–5 minutes until the water is completely absorbed. Leave the dough to rest, covered, for 30 minutes.
Stage 3 Stretch and fold, and bulk rise
You’ve probably noticed that there hasn’t been anything that resembles traditional kneading, and that’s because this method requires no kneading. Sourdough takes a long time to prove compared to yeasted bread and, over the course of the bulk rise, gluten is developed naturally using a ‘stretch and fold’ technique.
Once you’ve added salt to your dough and allowed it to rest, you can start stretching and folding. Wet your hands and, keeping the dough in its container, imagine the dough is a clockface. Starting at 12 o’clock, scoop your hands underneath the dough, then pull up (stretch) and fold down (fold) over the whole piece. Turn your container 90° and repeat this step (stretch, fold and turn) another three times, so you end up back where you started.
These four folds are considered one ‘turn’. After completing the first turn, cover the dough. Then uncover and turn it every 30 minutes for 2–3 hours. After these 4–6 turns, the dough should have changed from loose and stretchy and should have begun to firm, tighten and contain plenty of air bubbles and have risen to nearly twice the size.
Stage 4 Pre-shape
After the final turn, rest the dough for 20–30 minutes. Lightly dust the top of the dough with flour and, using a plastic dough scraper, gently coax it away from the edges of the container. Then turn the container upside down and wait for the dough to naturally release itself onto your (unfloured) work surface.
Divide the dough into two equal parts using a metal scraper. Put one piece aside while you focus on the other.
Fold the bottom of the dough over the top so it is now floured on the top and bottom. At this point you shouldn’t need to use any more flour – you don’t want to the dough to slide around on the surface. Holding your scraper in one hand, work the dough into a round, tucking the sides of the dough underneath itself and tightening the surface until it’s smooth and bouncy. The idea is to build tension.
Repeat with the other piece of dough, then cover both with a clean tea towel and leave to rest for 20 minutes.
Stage 5 Final shape and retarding
After resting, lightly flour both pieces of dough and flip them over so the floured side is on the worktop. Take hold of the edge of the dough at 2 o’clock and fold it into the middle, securing it with the thumb of your other hand. Rotate the dough about 30° and again fold the 2 o’clock edge to the middle, securing with your thumb.
Repeat this process until you have rotated the dough through 360°. It should feel strong and bouncy and have noticeable resistance. Now you have a ball, flip it over so the smooth side is facing up. Cup your hand round the ball and pull towards you, so that the anchoring dough ‘seals’ itself. Now you have a fully shaped loaf! Repeat for the other loaf.
Dust your proving baskets or tea-towel-lined bowls with rice flour (or some strong white flour), then place your loaves in them with their rough sides facing up. Cover with a tea towel, leave to prove in a warm place for 1 hour and then refrigerate overnight; the loaves will be ready to bake first thing in the morning.
Stage 6 Bake
Put a cast-iron pot in the oven and preheat to 250C (480oF). Take one loaf out of the fridge and turn it out into the pot, being careful not to burn yourself. Holding a sharp knife at a 30° angle, make four shallow slashes in the top of the loaf, in a criss-cross or other pattern, then cover with the lid and place in the oven. Turn the temperature down to 220°C (425°F) after 10 minutes, then remove the lid after another 10 minutes – you should be greeted by a huge cloud of steam and a glorious smell. Bake (lid off) for another 20–25 minutes until dark golden brown, and you are done. Take the loaf out of its baking vessel and repeat with the second loaf.


